With the second rifle seasons underway, along with the wintery weather which typically accompanies the later season hunts I thought my readers may find this worthwhile. This is a great choice for the backcountry hunter or those rolling camp out of the back of a truck. When the weather turns nasty either in the form of rain or snow getting and staying dry is a priority. Welcome to the packable woodstove!
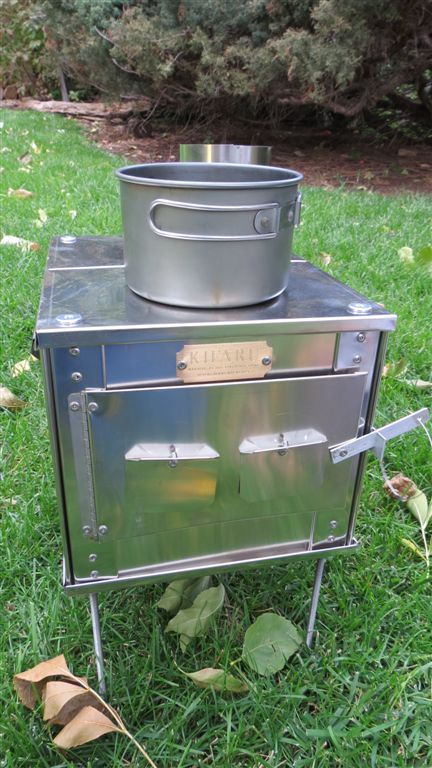
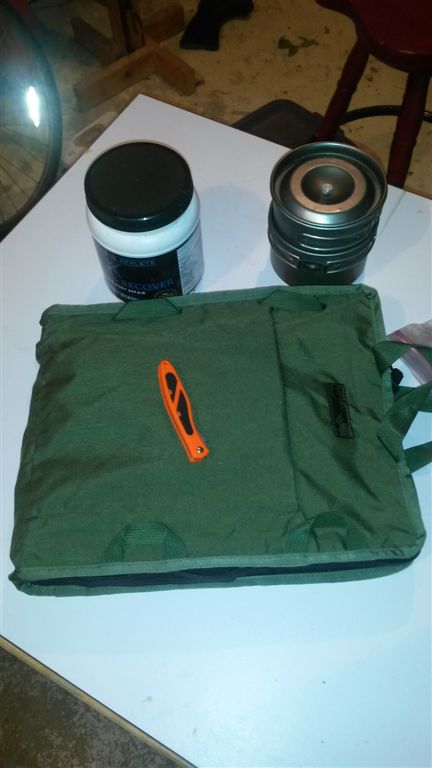
I think one of the most challenging things about this project is getting your arms around which pieces and parts provide a viable option for the build. The tipi style tents seems to be the most popular, however, almost any single wall tent will work. For my project I chose to use a GoLite Shangri-La 5, A Ti-Goat Stove Jack and a Kifaru Medium stove.
In a nutshell the Ti-Goat stovejack is a fire resistant patch which gets sewn onto the body of the tent. This allows the use of a stove pipe without melting or starting your tent on fire. A couple points which are worth mentioning:
- Works best with a single wall tent.
- Vent length is dependent on your shelter height.
- Wood stoves come in multiple sizes and should be matched to your shelter size.
One noteworthy point regarding the GoLite Shangri-La 5, I think the “5” is good for two guys and gear, or maybe three guys and no gear. As usual the folks that rate tents must have a warehouse full of pygmies to use for their capacity calculations, but I digress. The price of the GoLite is pretty economical compared to some other brands, however I’m still not sure that I shouldn’t have bitten the bullet and went for a Kifaru, Ti-Goat or Seek Outside shelter but so far I’m pretty happy with the GoLite, only time will tell.
The first step is installing the stove jack. While it’s a bit intimidating cutting a hole in your brand new shelter, it really is pretty simple. If you’re not the adventurous type, the shelters listed above come complete with stove jack already sewn in from the factory. I personally like that the standalone stove jack gives you the ability to modify just about any shelter of your liking. Placement of the stove jack should be as high on the shelter as possible to promote a good draft. Consideration should also be giving to the location of the stove within the shelter and this will vary with different tent configurations.
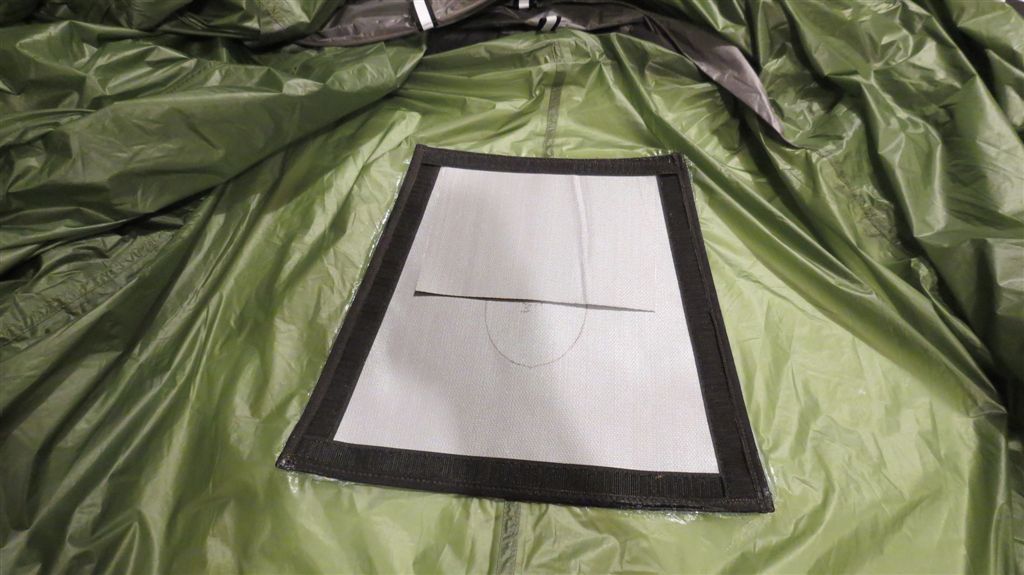
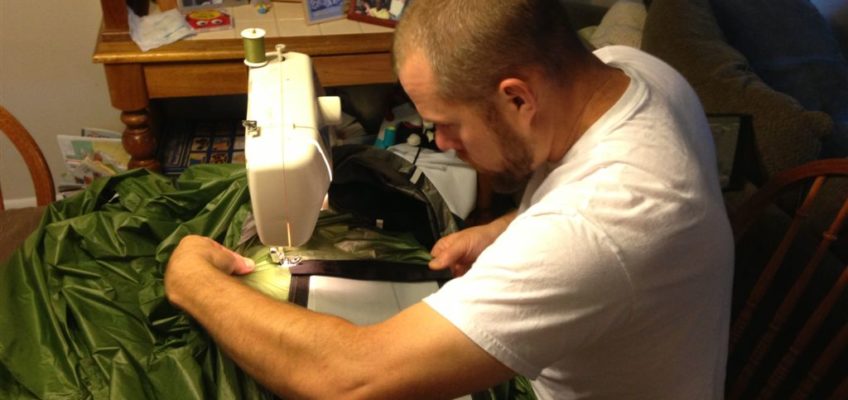
I ran a thin bead of silicone around the stove jack and used a flat piece of plywood with some weight on top to anchor it overnight. The next day I carefully did a little sewing. Silnylon sews pretty easily, just be sure to take your time and make sure you don’t sew the thing back on itself as you end up with a big pile of fabric that becomes a little difficult to manage.
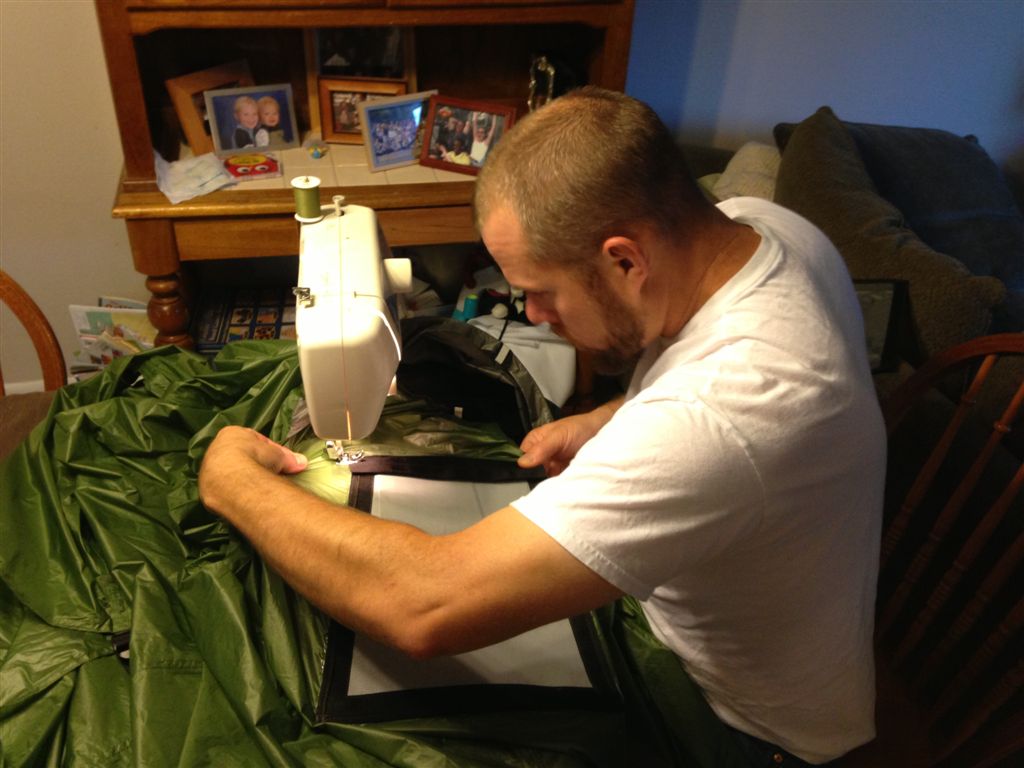
After sewing the tent interior needs to be cut out to accommodate the stove pipe and the stove jack. My Ti-Goat jack came with a template for a 3″ diameter pipe which is an oval shape to account for the angle of the pipe when in operation. I used the tip of a hot soldering iron to melt/cut the material but scissors would work fine.
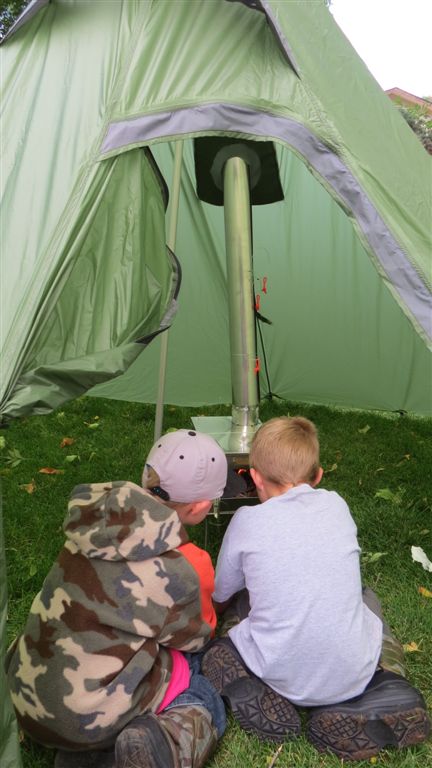
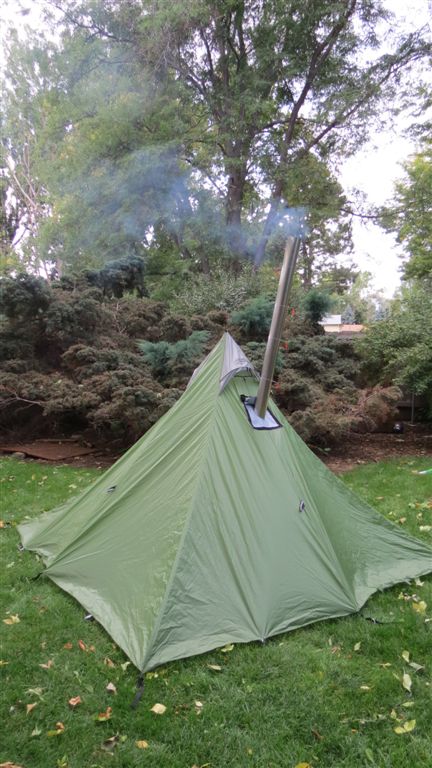
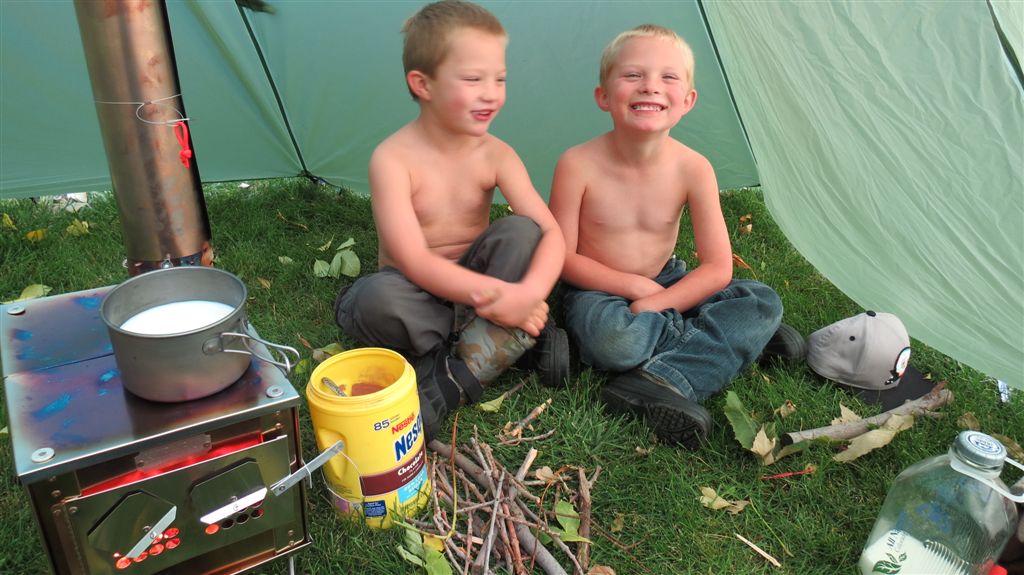
After that your ready to start cooking! I should also mention that I was extremely impressed with the Kifaru woodstove. I couldn’t believe how nicely the package went together and how small the whole thing was bundled up. One word of caution, as their products are custom made in America it takes a bit of time. I was warned from day one that shipment would take approx. 6 weeks. Looking forward to testing this thing under real field conditions!
A couple other good resources –
Bowsite – GoLite Shangri La Owners
Rokslide – DIY Gear Modifications –

Rob Collins
I did exactly this to an SL-5, same jack, same stove. I also have a friend who has the same. Small world. Sadly the owner of TiGoat passed away a few years ago. (I also have a TiGoat V-8 that I also use the Kifaru stove in) His son’s company, Ruta Locura doesn’t quite do the same stuff, no tipis anyway, and GoLite has gone away. Glad I picked up my SL-5..